
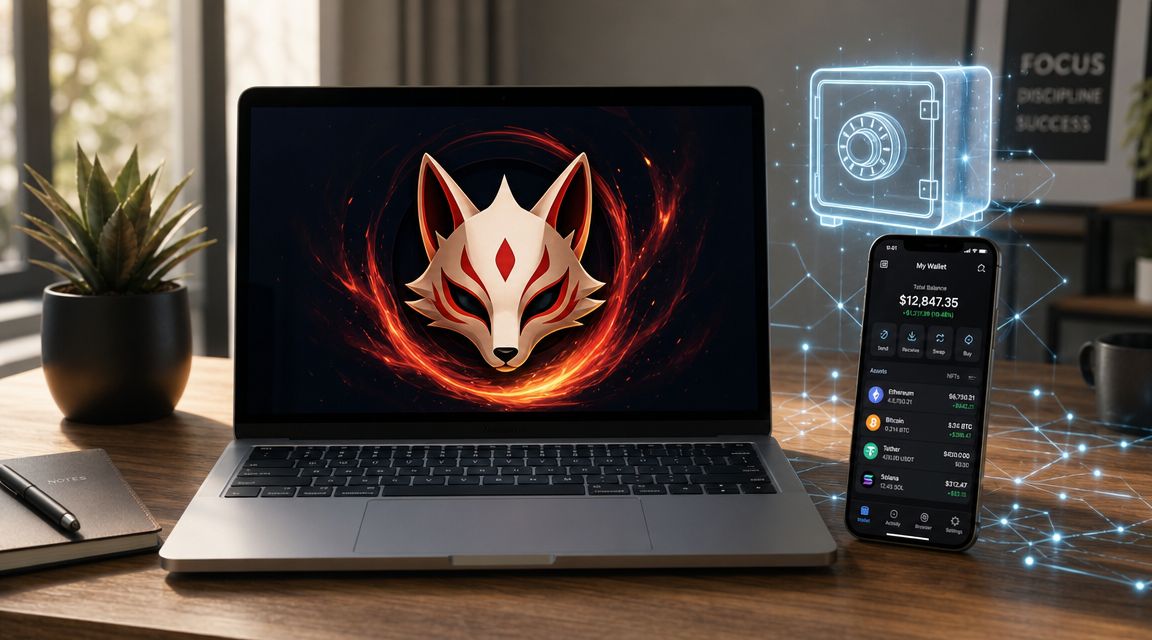
You land on a DeFi app because you want a simple outcome: put stablecoins to work without babysitting half a dozen protocols. The interface looks clean. The strategy makes sense. Then the button appears: Connect Wallet.
That moment stops a lot of smart people. Not because the product is confusing, but because Web3 flips the usual model. You don't create an account first and let the platform hold everything for you. You bring your own wallet, your own identity layer, and your own signing authority.
If you're getting started, MetaMask is usually where that journey begins. If you've used it before but mostly on Ethereum mainnet, it's still worth revisiting it with a modern DeFi lens. The useful question isn't just how to install MetaMask. It's how to set it up so you can move safely across EVM networks like Base, manage stablecoins cleanly, and avoid the mistakes that cost people time, privacy, or funds.
Why You Need a Wallet for the New Internet
You can think of a wallet as the login system for the part of the internet that doesn't rely on usernames and passwords.
A normal web app asks for email, password, and maybe two-factor authentication. A DeFi app asks for a wallet because the wallet is what proves ownership. It tells the app which address is yours, lets you sign messages, and lets you approve onchain actions without handing over custody.
That shift matters because the wallet isn't just for sending crypto. It's the control panel for identity, permissions, and money movement across decentralized apps.
The moment most people hit the wall
A common path looks like this:
You hear that stablecoins can earn yield onchain.
You visit a DeFi app.
The app asks you to connect a wallet.
You realize you don't have the basic tool required to do anything.
At that point, MetaMask tends to be the default answer because it's already the wallet many apps are built to recognize. MetaMask is one of the largest crypto wallets in Web3, reaching over 30 million monthly active users, and one cited estimate says its MAUs grew by roughly 55% between late 2023 and early 2024 (MetaMask wallet statistics). That scale is why so many teams treat it as the standard entry point.
If you're still fuzzy on the role a wallet plays, this guide on what a DeFi wallet actually does is a useful companion.
Why MetaMask became the default gateway
MetaMask sits in the browser or on your phone and acts like a signing layer between you and the app. When a site wants access to your public address, requests a signature, or asks you to approve a transaction, MetaMask stands in the middle and asks for your consent.
A wallet in Web3 is closer to a passport plus a signing pen than a leather billfold.
That model feels unfamiliar at first, but it gives you something traditional apps usually don't. Direct control. You decide what to connect, what to sign, and what to send.
For anyone using DeFi seriously, that's not a minor detail. It's the foundation.
Understanding How MetaMask Protects Your Funds
MetaMask makes the most sense when you stop picturing it as a bank account.
Your crypto doesn't sit inside the browser extension the way cash sits in a checking account. Your assets live on the blockchain. MetaMask stores the credentials that let you control those assets. The practical analogy is a vault interface with your own keys, not a vault operated by someone else.
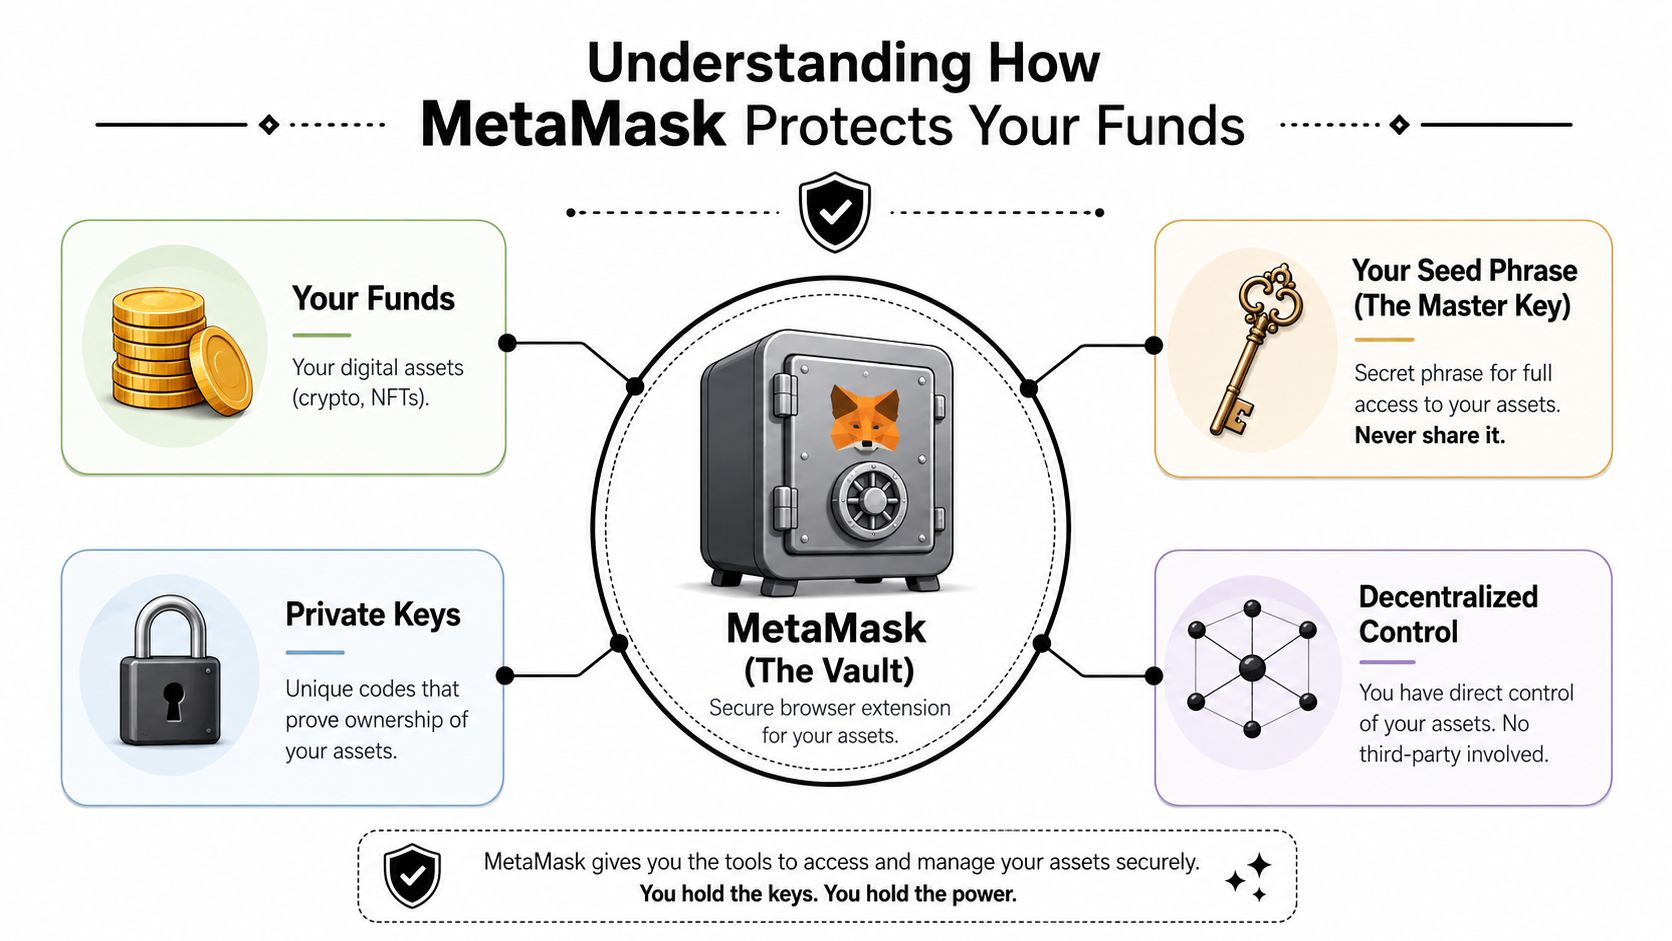
Self-custody is the core design
MetaMask is built on a self-custodial design. The company says it doesn't collect or store your private keys, and sensitive data is stored locally on your device (MetaMask's data privacy commitment). That's the feature that makes MetaMask powerful, and it's also what makes user discipline absolutely essential.
With a bank, the institution controls the infrastructure and can reset access through its own internal processes.
With MetaMask, you control the keys. If your device is compromised, or if you hand over your recovery phrase, there isn't a customer support desk that can reverse blockchain reality for you.
What the key pieces actually mean
A lot of wallet content gets abstract. Here's the working model that matters in practice.
Component | What it does | Why it matters |
|---|---|---|
Secret Recovery Phrase | The master backup for the wallet | Anyone with it can restore the wallet |
Private Keys | Cryptographic keys tied to addresses | They prove you control funds at that address |
Password | Unlocks the local app on your device | It protects local access, not blockchain ownership |
Wallet address | Your public receiving address | Safe to share when receiving assets |
The biggest mistake beginners make is confusing the password with the actual source of control.
Practical rule: Your password protects the MetaMask app on one device. Your Secret Recovery Phrase protects the wallet itself.
What MetaMask does and does not do
MetaMask does:
Store sensitive wallet data locally on your device.
Present approvals clearly before actions are signed.
Let you interact with Ethereum and EVM-compatible apps without giving those apps custody.
MetaMask does not:
Hold your funds for you in the way an exchange does.
Collect your private keys, according to its privacy materials.
Rescue you from bad signing decisions if you approve the wrong thing.
That last point is where experienced users think differently. They don't ask only, "Is MetaMask secure?" They ask, "Am I using MetaMask in a way that keeps my attack surface small?"
That's the right frame.
Your Step-by-Step MetaMask Setup Guide
If you want a clean MetaMask setup, slow down at the beginning. Most later problems come from rushing the first ten minutes.
Start with the official browser extension or mobile app. Pick one primary device you trust. Avoid installing it on a machine cluttered with random extensions, old downloads, and years of bad security habits.
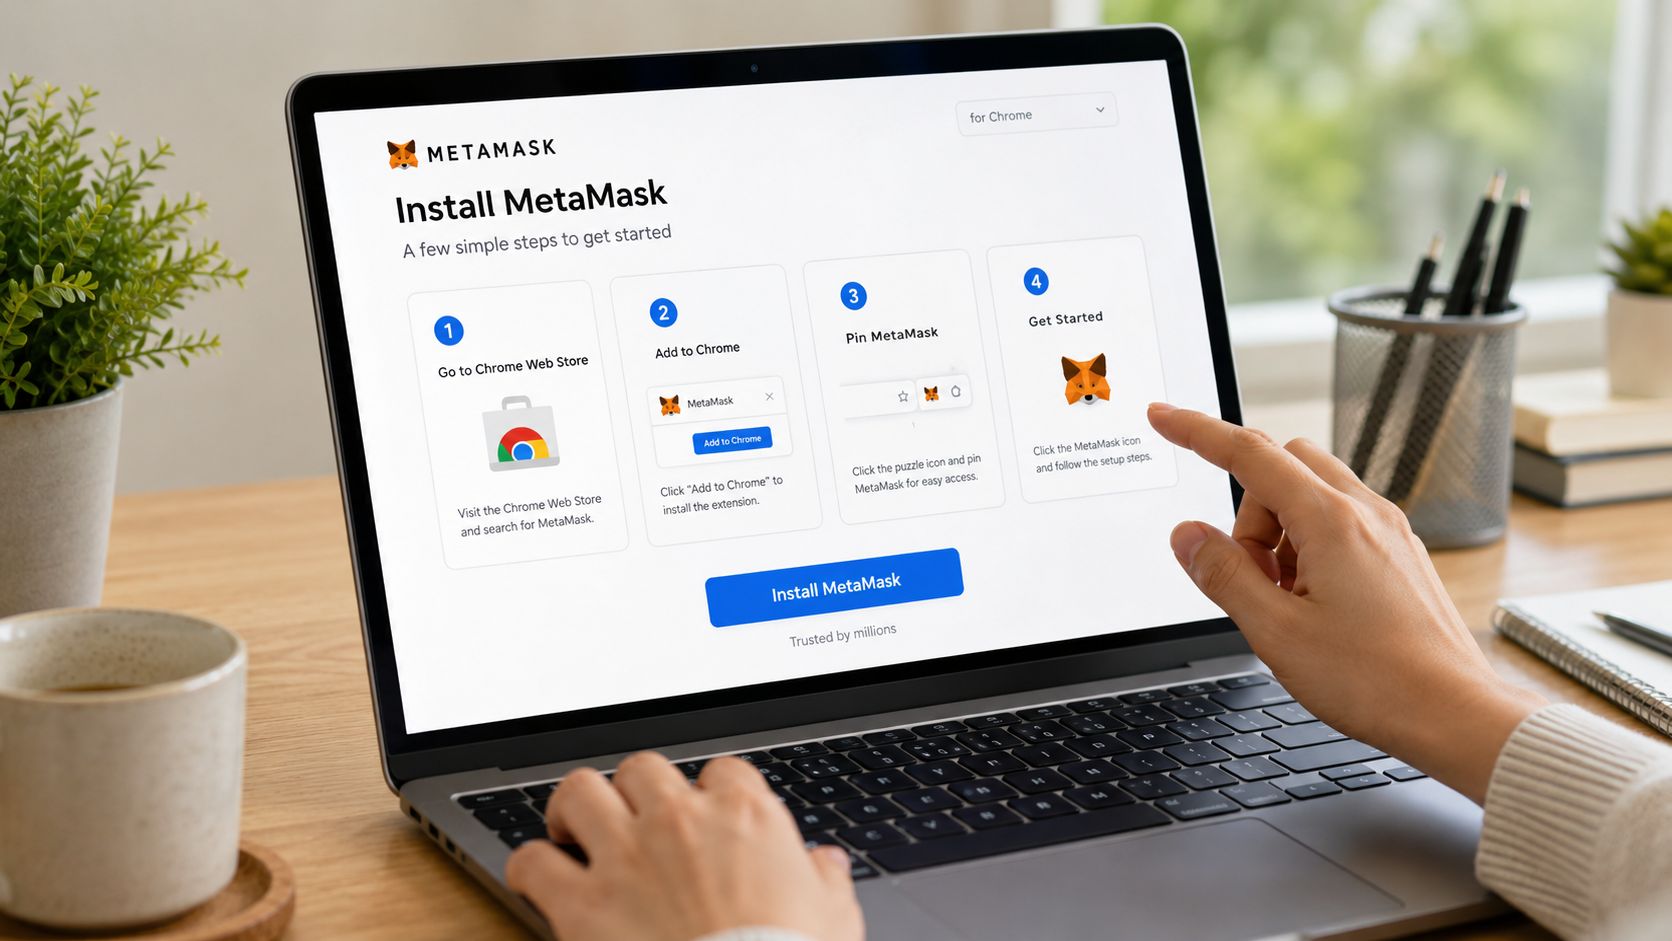
Install it the right way
Often, the browser extension is the easiest place to start because many DeFi apps are still most comfortable on desktop.
Follow this order:
Install the extension or app from the official MetaMask property. Don't search blindly and click the first ad.
Create a new wallet if this is your first one. If you already have a recovery phrase, use the import flow instead.
Set a strong local password. This protects access on that device.
Reveal your Secret Recovery Phrase only when you're ready to write it down carefully and offline.
The password step matters, but the phrase step matters far more.
Do this once and do it properly: write your Secret Recovery Phrase offline, store it somewhere only you can access, and never paste it into a website, chat, notes app, or cloud document.
Secure the phrase before you fund anything
Don't transfer assets into a new wallet until the backup is done.
A lot of people treat the phrase like a setup formality. It's not. It's the root credential for the whole wallet. If your laptop dies, your browser profile breaks, or your phone is lost, the phrase is what restores access. If someone else gets it, they can restore your wallet too.
Use a basic checklist:
Write it by hand: Paper is still better than a synced digital note for this specific secret.
Store it in a private location: Think controlled access, not convenience.
Never share it with support: Real support staff don't need your phrase.
Test your own understanding: Make sure you know where it is before sending funds.
After that, MetaMask will usually ask you to confirm parts of the phrase. Treat that as a useful friction point, not an annoyance.
Add the mobile app only if you need it
Many users install both desktop and mobile immediately. That isn't always wise.
If you're new, it's often cleaner to start on one environment, get comfortable with transaction flows, and add mobile later. Every extra device is another place to manage local security.
A visual walkthrough can help if you prefer to watch the flow before doing it yourself.
Make one small test before doing anything serious
Before moving meaningful funds, send a small amount and confirm that you can:
Open MetaMask reliably
View the correct address
Receive assets successfully
Understand the confirmation screen
That short test catches more setup mistakes than any checklist.
If the wallet works, the address matches, and you understand what you're signing, you're ready for the next layer: operating it safely over time.
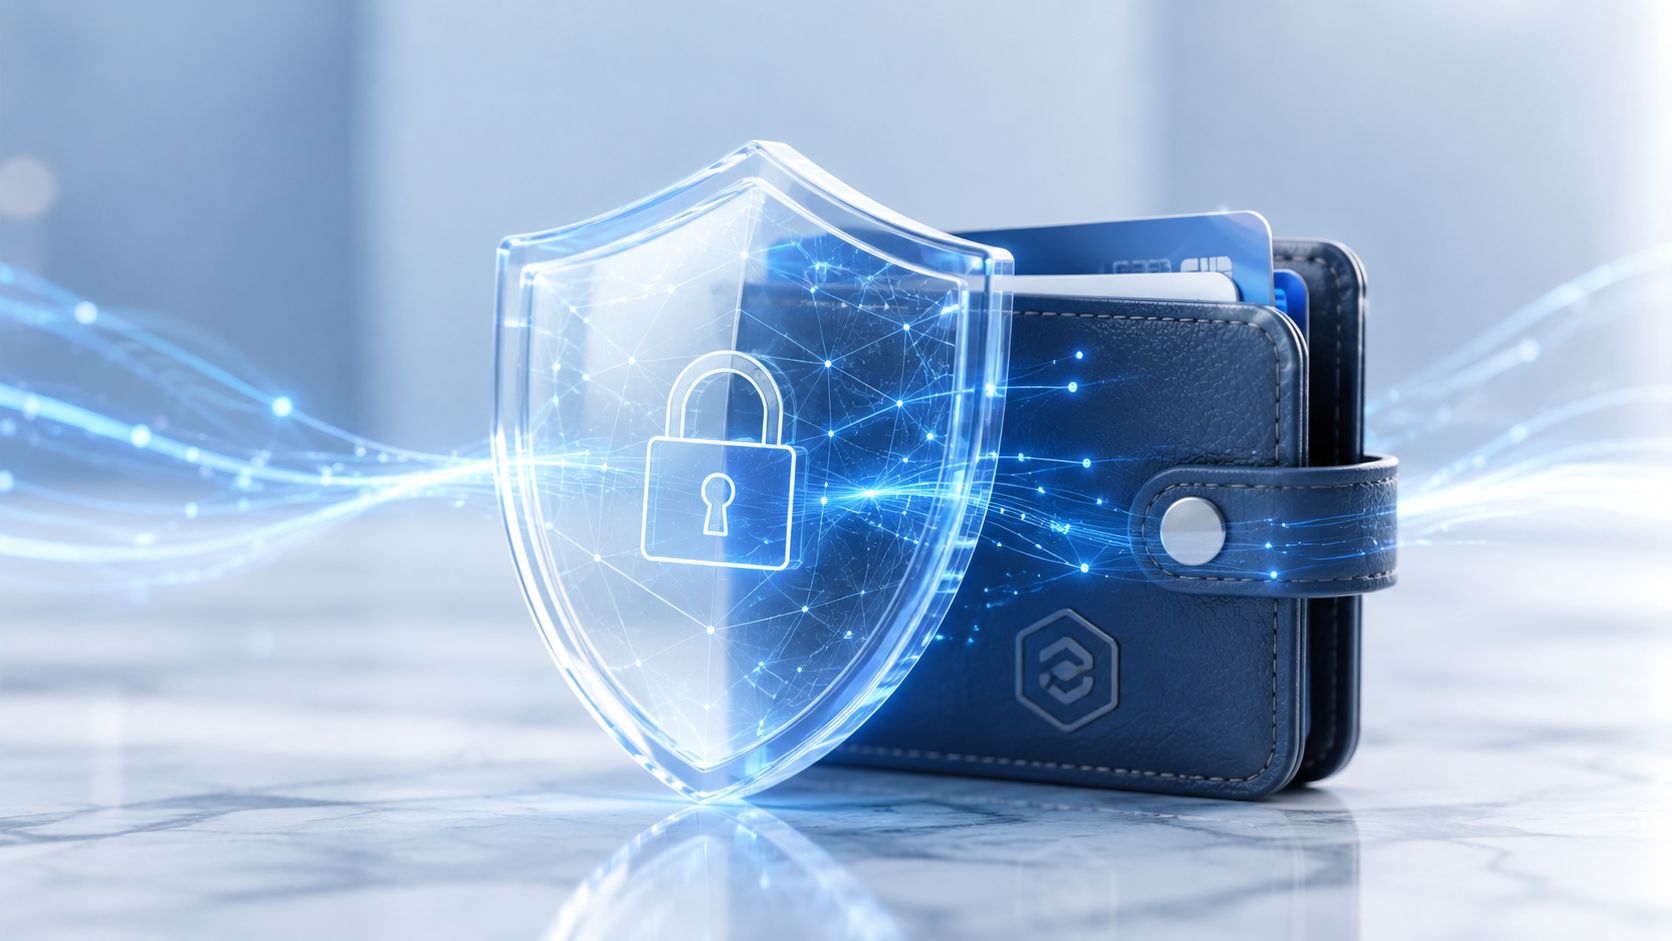
Mastering Your Wallet Security and Privacy
Most MetaMask losses don't come from the wallet "breaking." They come from users approving the wrong thing, visiting the wrong site, or treating convenience as security.
That's why wallet safety has two separate parts. First, you protect keys and recovery methods. Second, you manage ongoing operational risk while signing, connecting, and transacting.
The most common mistakes aren't technical
Phishing is still the classic trap. A fake site copies a real app, prompts a wallet connection, and then pushes you toward a malicious approval or a fake support flow that asks for your recovery phrase.
The fix is boring and effective:
Bookmark official app URLs you use often.
Ignore urgency language in pop-ups, DMs, and fake support chats.
Read every approval screen before clicking confirm.
Leave immediately if a site asks for your Secret Recovery Phrase.
Another category is unsafe approvals. Some transactions aren't simple sends. They grant token spending permissions to smart contracts. Those permissions can be appropriate, but they should never be treated casually.
If you don't understand what a signing request is trying to do, the correct move is to reject it and come back after you've checked the details.
Why hardware wallets change the game
For larger balances or treasury use, a hardware wallet is the upgrade that matters most.
A hardware wallet keeps the signing key isolated from your everyday browser environment. MetaMask can still act as the interface, but the final approval happens through the hardware device. That means a compromised browser is much less likely to become a catastrophic compromise of funds.
If you're ready for that setup, this guide on using a hardware wallet with MetaMask covers the practical workflow.
A good operating model looks like this:
Wallet setup | Best use case | Main trade-off |
|---|---|---|
MetaMask only | Small balances, learning, testing | Faster, but more exposed to device risk |
MetaMask plus hardware wallet | Serious DeFi use, treasury management | More secure, slightly less convenient |
Privacy is a separate issue from custody
This is the part many wallet guides skip.
MetaMask can be non-custodial and still not be private by default. Public guidance notes that when you use MetaMask, data may be sent to RPC providers like Infura, which may collect your IP address and wallet address. Users who care about privacy should consider a VPN or a custom RPC setup (privacy discussion around MetaMask and RPC data exposure).
That's an important distinction because many users hear "self-custody" and assume "anonymity." Those are different things.
For practical privacy hygiene:
Use a VPN if you want to reduce easy IP linkage.
Consider a custom RPC if you understand the trade-offs.
Separate wallets by function so your public activity isn't needlessly clustered.
Assume onchain behavior is visible and act accordingly.
Non-custodial means you control the keys. It doesn't mean the surrounding infrastructure sees nothing.
Professionals managing stablecoins, DAO funds, or public-facing wallets should take that seriously. Operational privacy isn't perfection. It's reducing unnecessary exposure.
Configuring MetaMask for Modern DeFi
A lot of outdated wallet advice still treats MetaMask like an Ethereum-only tool. That's no longer how most active DeFi users operate.
MetaMask's utility has expanded beyond mainnet Ethereum. Its design encourages adding custom networks, as activity and yield opportunities increasingly live on Layer 2s and other EVM-compatible chains like Base (discussion of MetaMask's growing multi-chain role)).
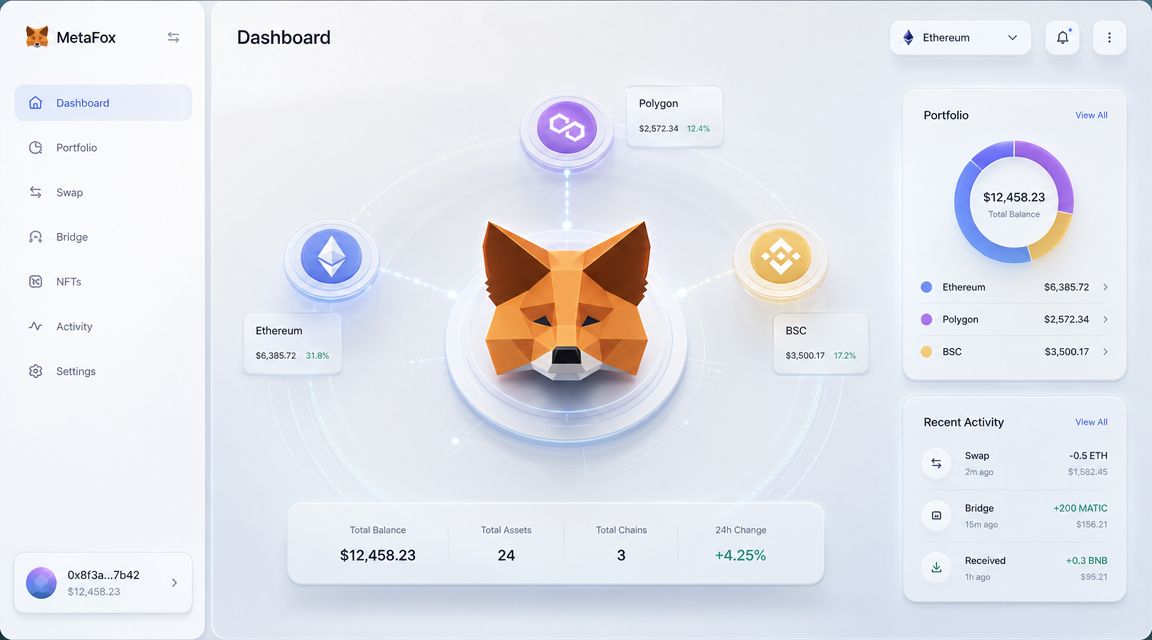
Why this matters for stablecoin users
If you're chasing efficiency, lower-friction DeFi use often happens away from Ethereum mainnet. Fees can be easier to work with, apps are optimized for those environments, and wallet flows increasingly assume you'll switch networks as needed.
That means network configuration isn't a side task. It's part of using DeFi well.
If you want another example of multi-chain wallet setup, this walkthrough on setting up Polygon on MetaMask shows the same broader pattern.
How to add Base to MetaMask
You can add Base from the network selector in MetaMask.
Use this workflow:
Open the network dropdown at the top of MetaMask.
Choose the option to add a network.
Search for Base if MetaMask presents a curated list.
Review the network details carefully before approving.
Save and switch to the Base network.
If you're adding any network manually, the rule is simple. Verify every detail from the official chain documentation before saving it. Network spoofing is less common than phishing, but careless manual entry is still a bad habit.
Add the token you actually plan to use
A network can be configured correctly while your token balance still appears empty. That's often just a display issue.
If you hold USDC on Base and don't see it in MetaMask, add the token so the wallet can display that asset in the interface. The exact process varies slightly by version, but the pattern is consistent:
Go to the token import or add token flow inside MetaMask.
Paste the correct token contract address from the official token or ecosystem documentation.
Confirm the token symbol and decimals shown by MetaMask.
Add the token so the balance becomes visible.
Keep the mental model simple
There are three moving parts, and mixing them up causes most confusion:
Item | What it controls |
|---|---|
Wallet | Your account and signing authority |
Network | Which blockchain you're connected to |
Token | Which asset balance MetaMask displays |
When someone says, "My funds are gone," the answer is often much less dramatic. They're connected to the wrong network, or the token hasn't been added to the wallet display yet.
The modern MetaMask skill isn't installation. It's knowing which chain you're on, which token you're viewing, and what the app expects.
Once you've got that right, DeFi feels much less mysterious.
Connecting to Apps Like Yield Seeker
The first wallet connection feels more dramatic than it is.
You open an app, click Connect Wallet, pick MetaMask, and a small approval window appears. If you're new, it can feel like the app is asking for access to everything. It isn't. At that stage, the app is usually asking to view your public wallet address and request a basic connection approval.
What happens when you click connect
MetaMask supports dApp interaction through a standardized API. When you click actions like connect, sign, or approve, the dApp sends a request through that interface and MetaMask presents it for explicit confirmation (overview of MetaMask's wallet API behavior).
That confirmation screen is one of the wallet's most important security checkpoints.
In practice, the first flow usually looks like this:
The app asks to connect
MetaMask opens a pop-up
You choose the account to expose
You approve the connection
The app reads your public address and adapts the interface
At that point, the app can recognize your wallet. It still can't move funds unless you later approve additional actions.
Signature request versus transaction approval
These are not the same thing, and a lot of avoidable confusion starts here.
A signature request usually proves control of the wallet or authorizes an offchain action. It often doesn't broadcast a transaction to the blockchain.
A transaction approval is different. That's the step that authorizes an onchain action such as transferring tokens, approving spending, or interacting with a smart contract.
A fast way to understand this:
Request type | Typical purpose | Main question to ask |
|---|---|---|
Connect | Share your public address with the app | Do I trust this site enough to link my wallet? |
Sign | Verify wallet control or accept a message | Do I understand what this message is for? |
Approve transaction | Execute an onchain action | Do I want this contract action to happen? |
How experienced users read the pop-up
They don't just click confirm because the app looks reputable.
They check:
The site they are on
The account MetaMask is using
Whether the prompt is a signature or a transaction
Whether the requested action matches what they just clicked
That last check matters more than people think. If you click "log in" and MetaMask asks for token spending approval, something is off.
Good wallet habits are mostly about matching intent. The prompt should make sense given the action you just took.
Once you build that reflex, connecting to dApps stops feeling risky and starts feeling mechanical, which is exactly where you want it.
Troubleshooting Common MetaMask Issues
Even clean setups hit friction. Most MetaMask issues are ordinary and fixable if you isolate whether the problem is the wallet, the network, the token display, or the site connection.
Transaction is pending too long
Symptom: You submitted a transaction and it sits in pending status longer than expected.
Likely cause: Network congestion, a stale wallet state, or a transaction that needs to be sped up or replaced.
Try this:
Open the activity tab and inspect the pending item.
Use MetaMask's speed up or cancel option if available.
Avoid stacking repeated clicks in the app while the first action is unresolved.
Check that you're on the intended network and not waiting on the wrong chain view.
If nothing updates, close the app tab, reopen MetaMask, and re-check the transaction state before doing anything else.
Token balance isn't showing
Symptom: You know assets were sent, but the wallet shows zero.
This usually means one of two things. You're on the wrong network, or the token hasn't been added to MetaMask's visible asset list.
Use this sequence:
Confirm the receiving address matches your wallet
Check the selected network first
Import the token manually using the correct token contract from the official project documentation
Refresh the wallet interface
Most "missing funds" reports are display issues, not actual loss.
The app won't connect to MetaMask
Symptom: You click Connect Wallet and nothing happens, or MetaMask opens but the app still looks disconnected.
Common fixes:
Refresh the browser tab
Lock MetaMask and sign in again
Disconnect the site inside MetaMask and reconnect
Try another supported browser profile if an extension conflict is likely
If you've connected before, stale permissions can create strange behavior. Resetting the connection cleanly often solves it.
The wallet is on the wrong chain
Symptom: Buttons are disabled, balances look wrong, or the app tells you to switch networks.
The fix is simple. Open MetaMask, switch to the network the app expects, then reload the page. If the chain isn't available yet, add it first and then reconnect.
When a DeFi app looks broken, the first question should be: am I on the correct network?
Most of the time, that's the issue.
If you want a simpler way to put stablecoins to work after your wallet is ready, Yield Seeker offers an AI-powered approach to automated yield on USDC on Base. You connect your wallet, deposit, and let the platform monitor opportunities across DeFi without the usual dashboard juggling.